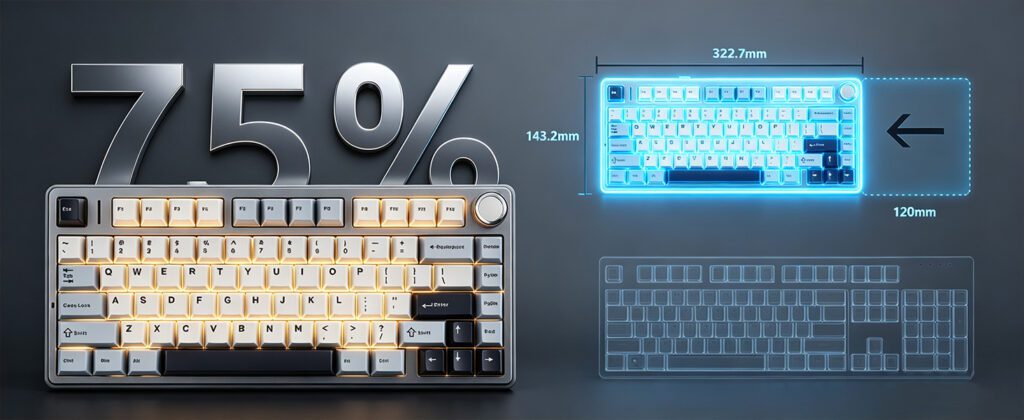
The AULA F75 is a highly sought-after 75% layout tri-mode mechanical keyboard, loved by gamers and typists for its compact design, premium typing feel, and extensive customization options. To unlock its full potential—including key remapping, custom RGB lighting, and macro programming—you need to master its official software and built-in shortcuts.
In this comprehensive AULA F75 manual, we will walk you through everything from the initial driver download to advanced macro setups and troubleshooting.
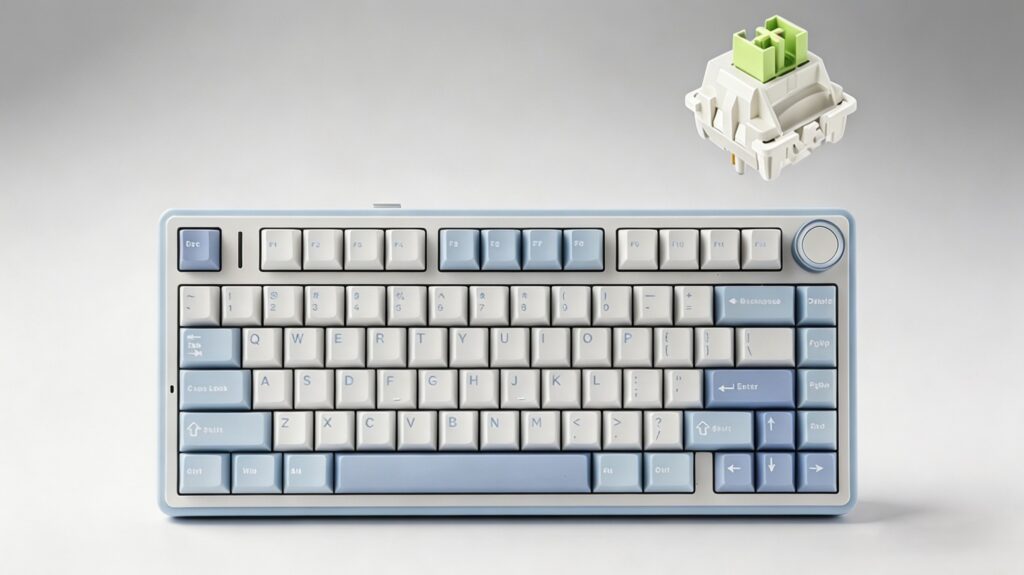
Table of Contents
- AULA F75 Driver Download & Installation
- How to Connect AULA F75 (Wired, 2.4G, Bluetooth)
- Comprehensive AULA F75 Shortcut Guide
- How to Set Up Macros on AULA F75
- Customizing Side Keys & Side RGB Strip
- Frequently Asked Questions (FAQ)
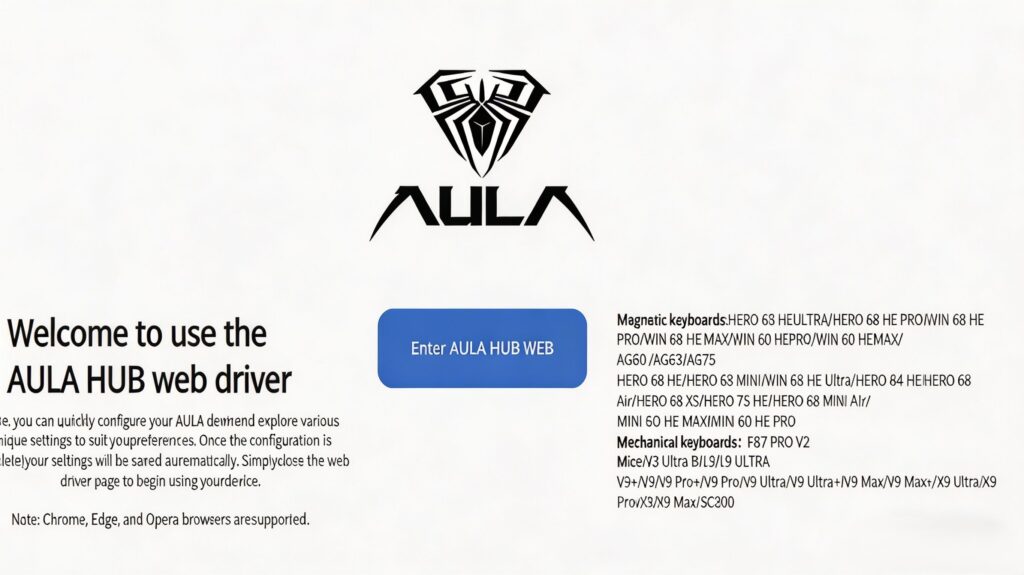
While the AULA F75 works out of the box, downloading the AULA F75 software (v2.0) allows for deep personalization. The driver currently supports Windows operating systems (WinXP to Win10/Win11).
Step-by-Step Installation:
- Download the Software: Visit the official AULA website, navigate to the Support/Downloads section, and search for “AULA F75 Driver”.
- Extract the Files: Once downloaded, extract the
.zipor.rarfile to your computer. - Run the Installer: Double-click the setup file (typically named
AULA F75 Setup v2.0.exe). - Select Language: Choose your preferred language (English or Simplified Chinese) from the prompt and click OK.
- Install: Follow the on-screen installation wizard, choose your destination folder, and click Install.
- Launch: Once the progress bar completes, click Finish to open the AULA F75 control panel.
Note: To ensure the software recognizes your keyboard, make sure the keyboard is connected to your PC via the provided USB Type-C cable (Wired Mode).
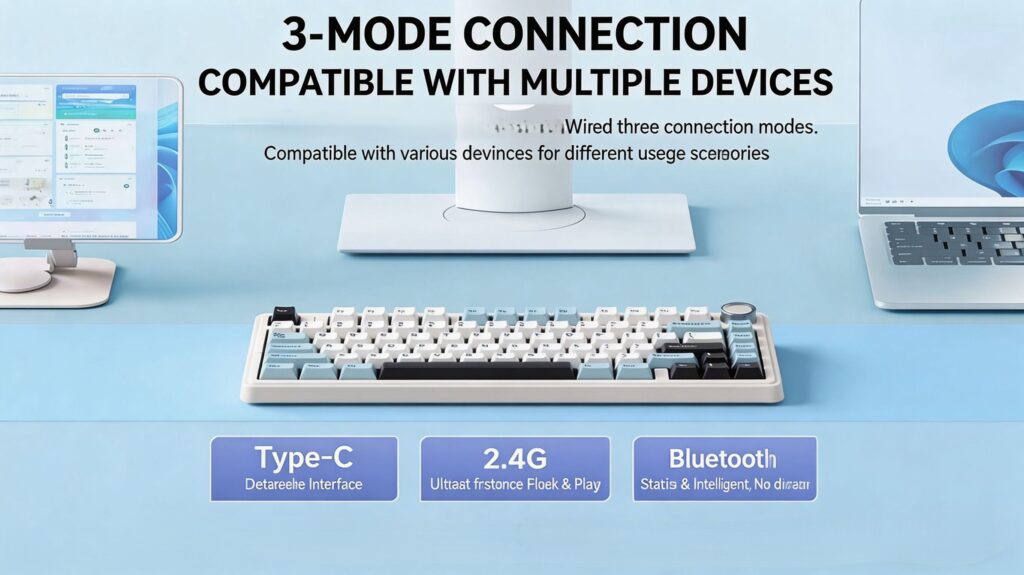
The AULA F75 is a versatile tri-mode keyboard. You can switch between connection modes using the physical toggle switch located at the top edge of the keyboard.
Wired Mode (Type-C)
- Switch Position: Move the toggle to the USB / Type-C icon.
- Setup: Connect the keyboard to your PC using the included Type-C cable. The system will recognize it instantly (Plug-and-Play).
2.4G Wireless Mode (USB Dongle)
- Switch Position: Move the toggle to 2.4G.
- Setup: Remove the USB receiver from the bottom slot of the keyboard and plug it into your computer.
- Pairing (If needed): If it doesn’t connect automatically, press and hold
FN + ~ (Tilde). The indicator light will flash rapidly. Once paired, the light will remain solid.
Bluetooth Mode (Connect up to 3 devices)
- Switch Position: Move the toggle to BT.
- Pairing Setup:
- Press and hold
FN + 1(or 2, or 3) for 3 to 5 seconds. The indicator light will flash rapidly to indicate pairing mode. - Open your device’s Bluetooth settings (PC, Mac, iPad, or Phone) and search for “AULA F75”. Click to connect.
- Press and hold
- Quick Switch: Once paired, you can quickly switch between three different Bluetooth devices by short-pressing
FN + 1,FN + 2, orFN + 3.
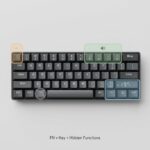
Because the AULA F75 uses a compact 75% layout, many standard keys (like media controls and F-row keys) are integrated into FN combinations.
System Switching (Crucial for Mac/Windows Users)
If your Alt and Windows keys feel swapped, you are likely in the wrong system mode.
| Shortcut | Function | Target User |
|---|---|---|
FN + W | Switch to Windows Mode | PC Users (Default) |
FN + E | Switch to Mac Mode | Apple Users (Swaps Win/Alt to Option/Cmd) |
FN + Q | Switch to Android Mode | Android Tablet/Phone Users |
FN + A | Switch to iOS Mode | iPhone/iPad Users |
Battery & Reset Shortcuts
| Shortcut | Function | Description |
|---|---|---|
FN + B | Check Battery Level | Number keys 1 to 0 light up green. More lights = higher battery. |
FN + ESC | Factory Reset | Hold for 5-10 seconds to restore all default settings. |
FN + Win | Lock Windows Key | Prevents accidental desktop minimizing during gaming. |
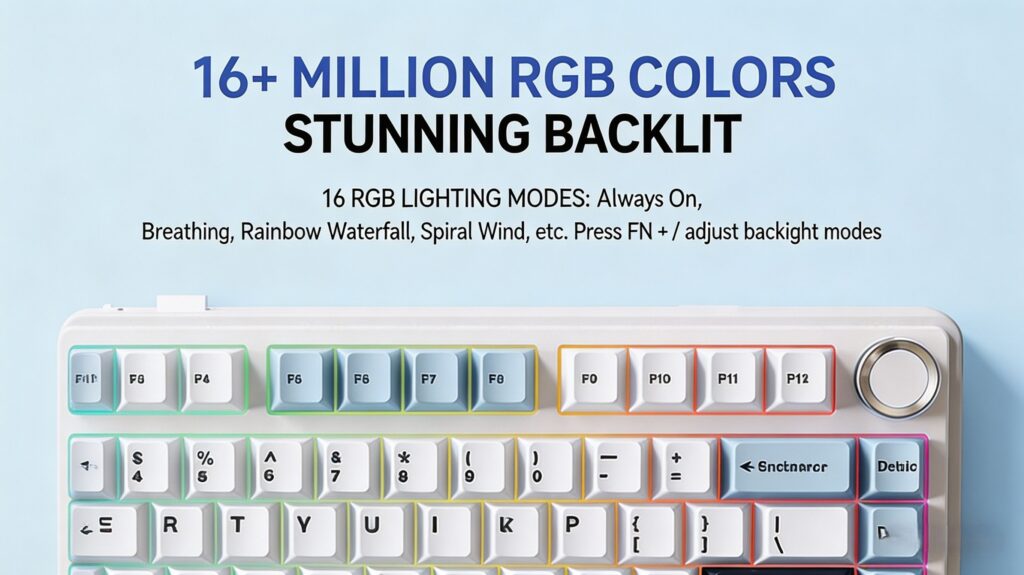
RGB Lighting & Multi-Function Knob
The metal knob in the top right corner controls both volume and lighting brightness.
- Toggle Knob Mode: Long-press the knob to switch modes.
- Green light flashes: Lighting Control Mode (Rotate to adjust RGB brightness).
- Blue light flashes: Volume Control Mode (Rotate to adjust PC volume).
FN + PrtSc: Cycle through 17 preset RGB lighting effects (Breathing, Wave, Static, etc.).FN + ↑ / ↓: Adjust backlight brightness manually.FN + ← / →: Adjust the speed of dynamic RGB effects.
Macro programming allows you to record a sequence of keystrokes and assign them to a single button—perfect for one-click gaming combos or repetitive office tasks (like Ctrl+C / Ctrl+V).
Step 1: Record the Macro
- Connect your keyboard in Wired Mode and open the AULA software.
- Navigate to the Macro Management (or Macro Editor) tab.
- Click the “+” or New button and name your macro (e.g., “Skill Combo”).
- Click Start Recording. Type the exact sequence of keys you want to automate. (Note: The software records the time delays between your keystrokes).
- Click Stop Recording, review your sequence, and click Save.
Step 2: Assign the Macro to a Key
- Go to the main Key Settings tab (showing the keyboard layout).
- Click on the physical key you want to replace (e.g., the
MenuorPausekey). - In the popup menu, select Macro, and choose the macro you just saved.
- Select Playback Mode (Advanced):
- Play Once: The macro runs once per click.
- Hold to Repeat: The macro loops continuously as long as you hold the key down.
- Toggle Loop: Click once to start looping, click again to stop.
- Click Apply. Thanks to the F75’s onboard memory, this macro will now work even if you plug the keyboard into a different computer without the software.
The right column of the F75 houses keys like PrtSc, Scroll Lock, and Pause. Many users prefer to remap these to navigation keys like End or Home.
How to Remap Keys via Driver:
- Open the driver and click on the Pause key on the visual layout.
- Select the Keyboard function tab.
- Choose End (or any other desired key) from the dropdown list.
- Click Apply.
Side RGB Light Strip Controls: The AULA F75 features a unique, independent RGB strip on the right edge. You can control this without the software using the right-side modifier keys:
FN + Right Shift: Cycle through side-strip lighting modes.FN + Right Alt: Adjust the brightness of the side strip.FN + Right Ctrl: Adjust the animation speed of the side strip.
Q1: Why is the AULA F75 driver not detecting my keyboard? A: The software usually requires the keyboard to be in Wired Mode. Ensure the top switch is set to USB/Type-C and the cable is securely plugged in. Additionally, ensure the keyboard is in Windows mode by pressing FN + W.
Q2: My Windows and Alt keys are swapped. How do I fix this? A: You have accidentally entered Mac mode. Press FN + W to switch the keyboard back to Windows layout.
Q3: How do I know when my AULA F75 is fully charged? A: In wireless mode, press and hold FN + B. If all number keys from 1 to 0 light up green, your keyboard is at 100% battery.
Q4: Why are my keyboard lights turned off and not responding? A: The brightness might be turned all the way down, or the lights were toggled off. Try pressing FN + ↑ repeatedly to increase brightness. If that fails, hold FN + ESC for 5-10 seconds to factory reset the keyboard.
By following this guide, you can fully optimize your AULA F75 mechanical keyboard for both productivity and gaming. For the latest firmware updates, always refer to the official AULA website.