
Here’s the honest truth about the Wooting 60HE V2: it’s one of the rare production keyboards that was practically born to be modded — yet the V2 also introduced a hidden trap that can wreck your entire modding budget if you don’t understand it first. Below is a structured, no-nonsense guide to help you figure out which mods genuinely improve the board, which ones are optional, and which ones you should skip entirely.
Introduction: Why Does a Mass-Produced Keyboard Need a “Modding Guide”?
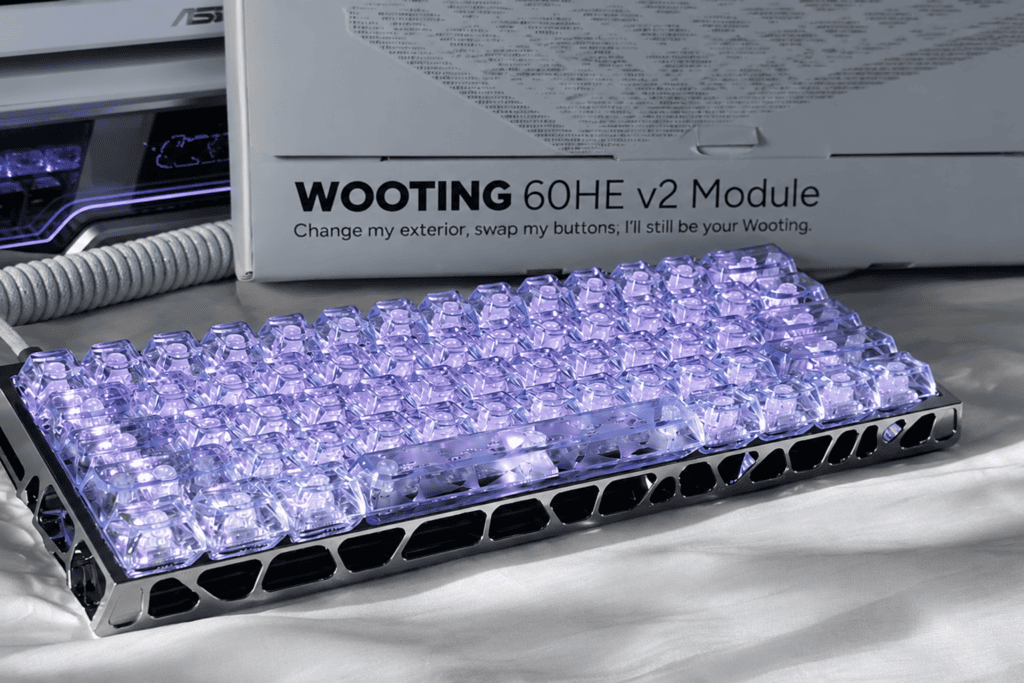
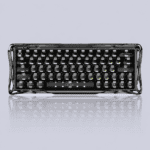
The Wooting 60HE V2 isn’t just another off-the-shelf keyboard. It’s built on a standard GH60 PCB layout, meaning it’s compatible with the vast majority of third-party 60% cases — a rarity in the pre-built world.
Its reputation speaks for itself. Among FPS professional players, adoption of the Wooting 60HE series has surpassed 28%, and the modding ecosystem around it now rivals that of the custom keyboard community.
But the V2 brings one critical structural change:
The new silicone gasket wraps the PCB E increases the internal case dimensions — meaning roughly 99% of third-party cases on the market no longer fit without modification.
This single detail changes everything. The V2’s modding logic is completely different from the V1, and misunderstanding it is the fastest way to waste money. Throughout this guide, we’ll cover three layers: compatibility warnings, six modding directions, and a priority roadmap — so you know exactly what’s worth doing and what to skip.
If you’d rather start from a ready-to-mod platform, the Wooting 60HE V2 full-mod custom build is a solid foundation to work from.
Read This First: The V2 Compatibility “First Hurdle”
Before you touch a screwdriver, you need to understand how the V2’s structural changes limit your options.
The New Silicone Gasket — The V2’s Biggest “Modding Trap”
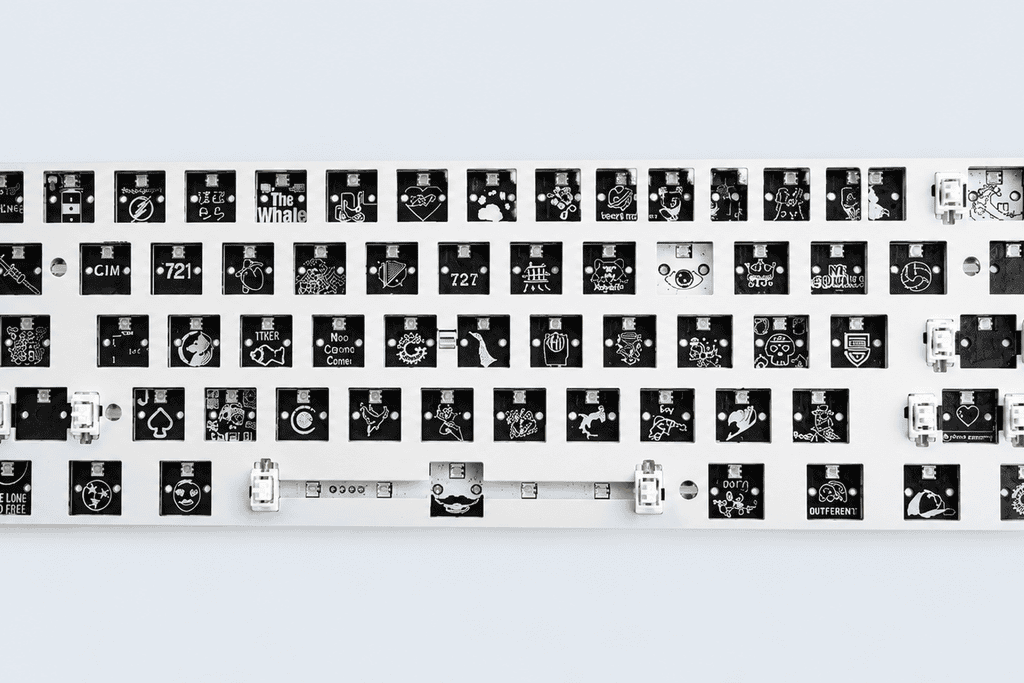
The V2 ships with a brand-new friction-fit silicone gasket that fully wraps the PCB and plate. This solves the old “hollow shell” sound problem — but the trade-off is a larger overall internal footprint.
If you plan to swap to a third-party case, you’ll need to:
- Remove the original silicone gasket
- Replace it with a Poron sandwich pad
Wooting itself states plainly: “Most third-party cases are not compatible with the friction-fit sandwich pad.”
The Stock Stabilizer Limitation
- The stock plate does not support plate-mount (steel wire) stabilizers — only PCB-mount stabs.
- If you keep the original stabilizers, they’ll need re-tuning to eliminate rattle.
Is the Stock State Actually Good Enough?
The V2’s out-of-the-box experience is a huge leap over the V1: full aluminum body (optional), FR4 plate, Lekker Tikken switches, and a friction-fit structure — the core performance holds nothing back.
As one veteran enthusiast bluntly put it:
“If you’re buying a pre-built V2, there’s genuinely no need for any secondary modding — the only thing worth adjusting is the stabilizer rattle.”
That said, if you want more from sound, feel, or aesthetics, modding is still absolutely worth the investment.
Breaking Down the Six Modding Directions
1. Switch Swaps — The Most Immediate Feel Upgrade
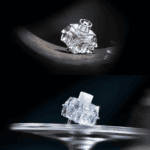
The stock Lekker Tikken switches feature a closed bottom housing with a deep, refined sound — already top-tier.
Popular alternatives include:
| Interruttore | Feel & Force | Sound Character |
|---|---|---|
| Gateron Baby Kangaroo (Cullinan / Heart of the Ocean) | Smooth, ultra-linear | Muted, deep — a community favorite |
| Gateron Magnetic Jade Pro | 30gf initial, linear | Crisp, “like clacking mahjong tiles” |
| Ice Magnetic Ultra / Extreme | Balanced feel | Well-reviewed sound profile |
Verdict: If you already like the stock feel and sound, swapping isn’t mandatory. But if you want a distinctly muted O crisper profile, switches are the most direct path.
2. Lubing — The “Detail Work” for Smoothness
Factory lubing on stock switches is inconsistent, so a re-lube is common during any mod.
- Most popular lube in the community: Miller 3204; some use Krytox 205g0.
- Critical caution: Magnetic switches contain magnets and springs. Never apply lube to the magnet area — it can distort the magnetic field readings.
Verdict: If you’re already swapping switches, lubing is a natural add-on. If you’re keeping stock switches, a standalone lube job offers limited returns.

3. Case Swaps — The Biggest “Trap” E the Biggest “Surprise”
This is where the V2 compatibility rules matter most.
Compatibility checklist:
- GH60-spec cases — mostly compatible
- Wooting official aluminum case — perfect fit
- Third-party cases — must confirm friction-fit sandwich pad compatibility; if incompatible, swap to a Poron sandwich pad
- Hollow/open cases — not recommended if you care about sound (they break acoustic sealing)
Popular case picks: Tofu series, XG60V2, M1X Silver Wing, Catch60 aluminum, and more. With a bigger budget, a mirror PVD aluminum case (like the Light60Pro Mirror Gold) delivers a completely different premium texture.
4. Keycap Swaps — A Double Upgrade for Looks and Feel
The stock keycaps feel “tool-oriented,” so swapping them is the fastest way to boost both texture and appearance — no disassembly required.
Popular choices:
- XVX White Ice Carbon Fiber — high-end carbon texture
- Gelatina cristallina — transparent, excellent RGB shine-through
- Titanium / metal keycaps — top-tier feel, but heavier (mind the large-key feel)
Always confirm keycap height and cross-stem compatibility — magnetic switches require specific bottom clearance.
5. Adding Foam — The Core of Sound Tuning
Foam is the best value-for-money way to reshape the V2’s sound.
- Stock config: silicone dampening pad + EPDM foam (optional)
- Modded fill: “Tempura” sound kit (sandwich foam + switch pads + acoustic pad + back film + bottom foam + spacebar foam)
- TKM Modding Kit: Poron sandwich + PET acoustic pad + IXPE switch pads + PCB tape mod
Plate choice — the heart of any fill strategy:
| Piatto | Profilo sonoro |
|---|---|
| POM | Soft, deep thock |
| FR4 | Balanced, springy “marble” sound |
| Fibra di carbonio | Crisp, snappy clack |
| PEI | Mid-range, between FR4 and POM |
Verdict: If you’re unhappy with the stock sound, adding foam is the most cost-effective tuning move — low cost, obvious results.
6. Stabilizer Fine-Tuning — The “Required Course” for Silencing Large Keys
This is the single highest-priority mod on the V2 — stock stabilizer rattle is the board’s most frequently mentioned weakness.
Option A — Re-tune the stock stabs:
- Disassemble and clean the steel wire
- Add 0.5mm foam to the stab housing bottom + a clear shim on top
- Lightly sand the wire bends with 2000-grit sandpaper at a 45° angle to remove metal burrs
Option B — Replace with third-party stabs:
- Community favorite: Never Gold-Plated Guard Pro PCB stabilizers, hand-tuned to buttery smooth
- Remember: the stock plate only supports PCB-mount stabs
Modding Priority: A Roadmap from Entry to “Full Custom”
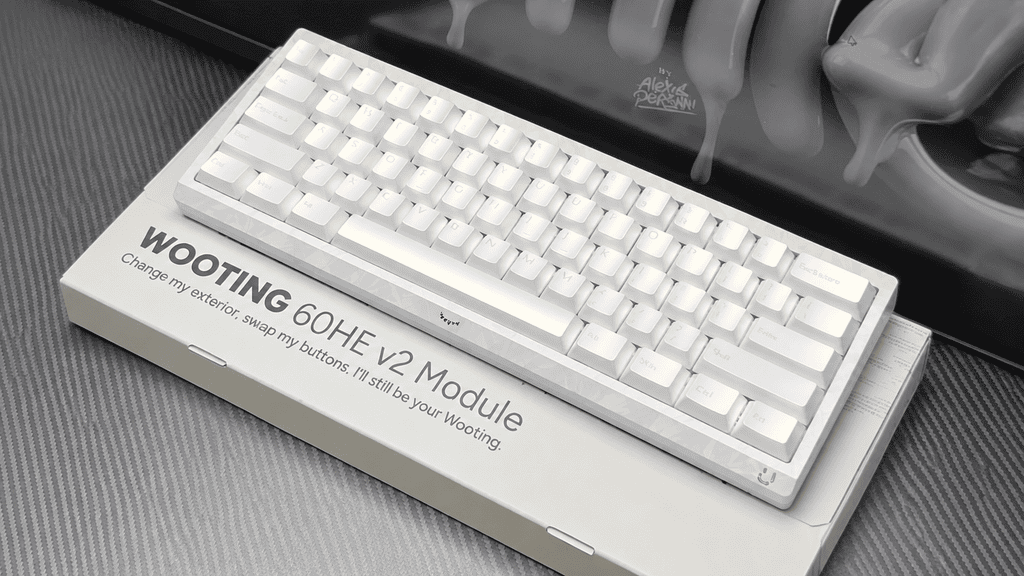
Here’s how to sequence your mods based on how deep you want to go.
Entry-Level Mods (Low Cost, Fast Results)
Best for those who just want to fix obvious stock flaws without major surgery.
- Stabilizer tuning — eliminates rattle, lowest cost, most direct impact
- Keycap swap — improves feel and looks, no disassembly
- Sound kit — Tempura or TKM kit to reduce hollow acoustics
Total investment: Basso — fully preserves the stock structure, zero compatibility worries.
Intermediate Mods (Requires Disassembly, Significant Payoff)
Best for users with a clear sound/feel goal.
- Switch swap — Baby Kangaroo, Jade Pro, or Ice Magnetic Ultra based on preference
- Plate swap — POM / FR4 / Carbon / PEI by sound target
- Switch lubing — Miller 3204 for fine polish
Total investment: Mezzo — but a genuine leap in sound and feel.
Full-Custom Mods (No Budget Limits, Chasing Perfection)
Best for enthusiasts pursuing the “ultimate form.”
- Case swap — mirror PVD aluminum, hollow aluminum (confirm compatibility!)
- Full acoustic package — sound kit + plate + PCB tape mod
- Stabilizer replacement — Never Gold-Plated Guard Pro + hand tuning
- Premium keycaps — titanium or metal
Total investment: Alto — but delivers a fully personalized endgame build. A pre-configured platform like the Wooting 60HE V2 full-mod custom keyboard can save you the trial-and-error.
Mods We Don’t Recommend
A few common pitfalls to avoid:
- Don’t chase sound tuning on a hollow case — the open structure breaks acoustic sealing and neuters your sound kit.
- Don’t buy a third-party case without confirming compatibility — the V2’s new silicone gasket enlarges the internal footprint, and 99% of cases need extra handling.
- Don’t pick incompatible keycaps just for looks — magnetic switches need proper bottom clearance, or you risk sticking keys and abnormal feel.
- Don’t blindly chase “full custom” — the V2 stock state is already excellent. “There’s genuinely no need for any secondary modding.” Mods should serve a real need, not exist “for modding’s sake.”
Conclusion: The Endpoint of Modding Is “What Suits You“
The Wooting 60HE V2 is an exceptionally mod-friendly keyboard — GH60-standard PCB, full hot-swap, modular design — making it a rare “platform product” among pre-builts.
But it also introduces a new compatibility gate: the new silicone gasket’s dimensional change is the first hurdle every modder must face.
There’s no single “right answer” to modding. Some people are satisfied after tuning the stabilizers; others happily pour thousands into a full custom build.
The key isn’t how much you mod — it’s modding the right things. Every change should serve a clear goal: better sound, smoother feel, sharper looks, or all three.
And one final piece of advice: if you’re already happy with the stock experience, choosing non to mod is a perfectly valid choice too.

 English
  German
  Portuguese
  Spanish
  Italian
  Finnish
  French
  Japanese
  Korean
  Swedish