
The Wooting 60HE V2 is fast out of the box, but its real strength lives inside Wootility, the configuration software that controls every key. Unlike “one-click esports” drivers, Wootility gives you fine-grained control, and it only pays off once you understand why each setting exists.
This guide walks through seven modules: connection, Rapid Trigger, deadzones, SOCD, DKS, third-party switches, and profiles. The goal isn’t a universal preset. It’s to help you build your own.
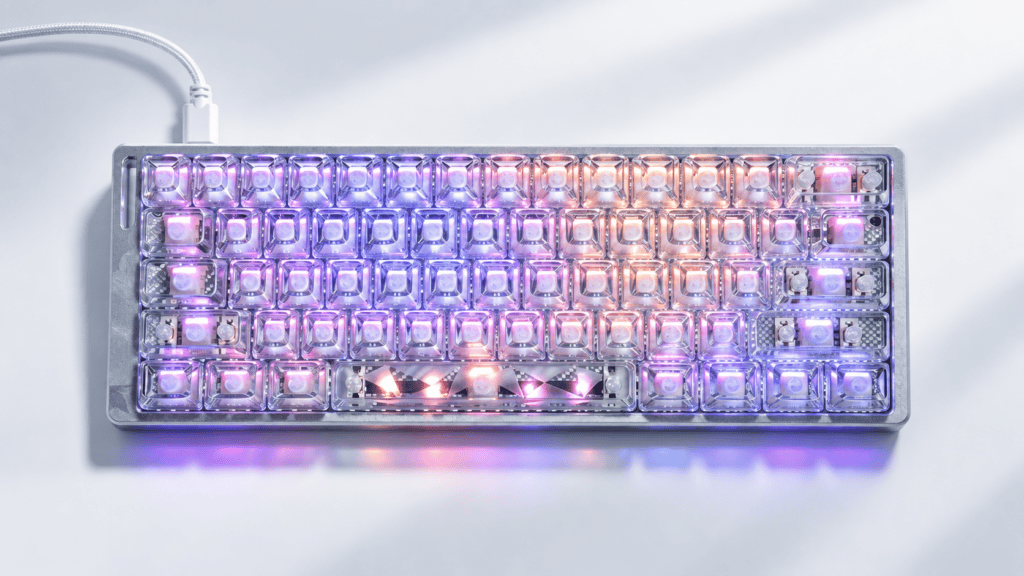
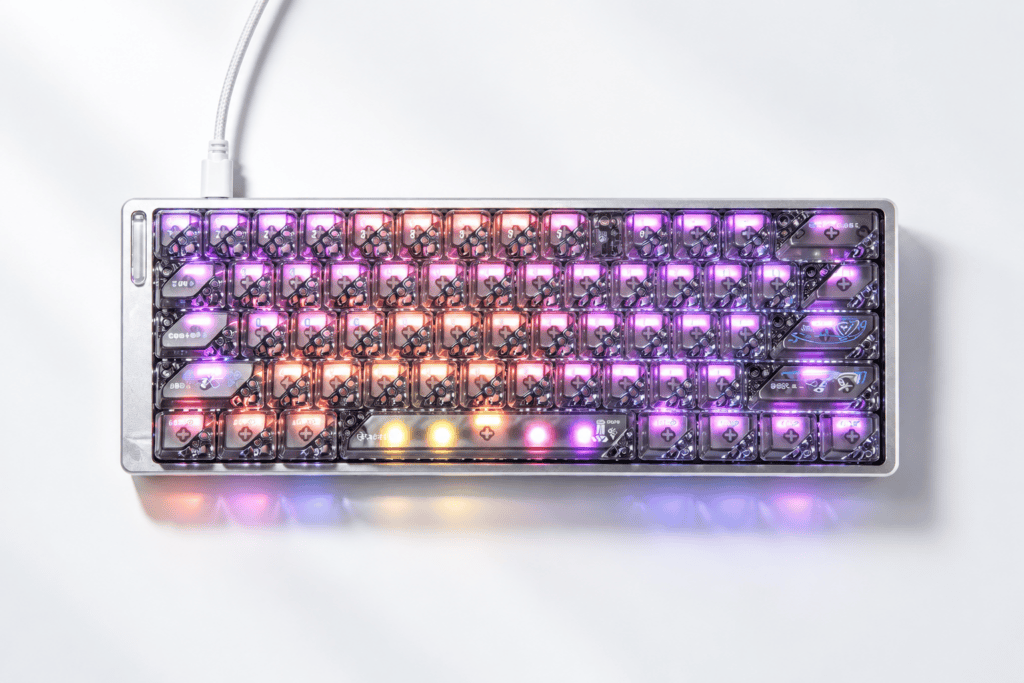
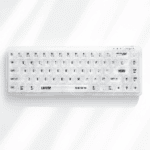
If you’re still shopping for a board, the Wooting 60HE V2 full mod custom keyboard is a good place to see a ready-to-customize build before you start tuning.
Wootility Basics: What You Need to Know First
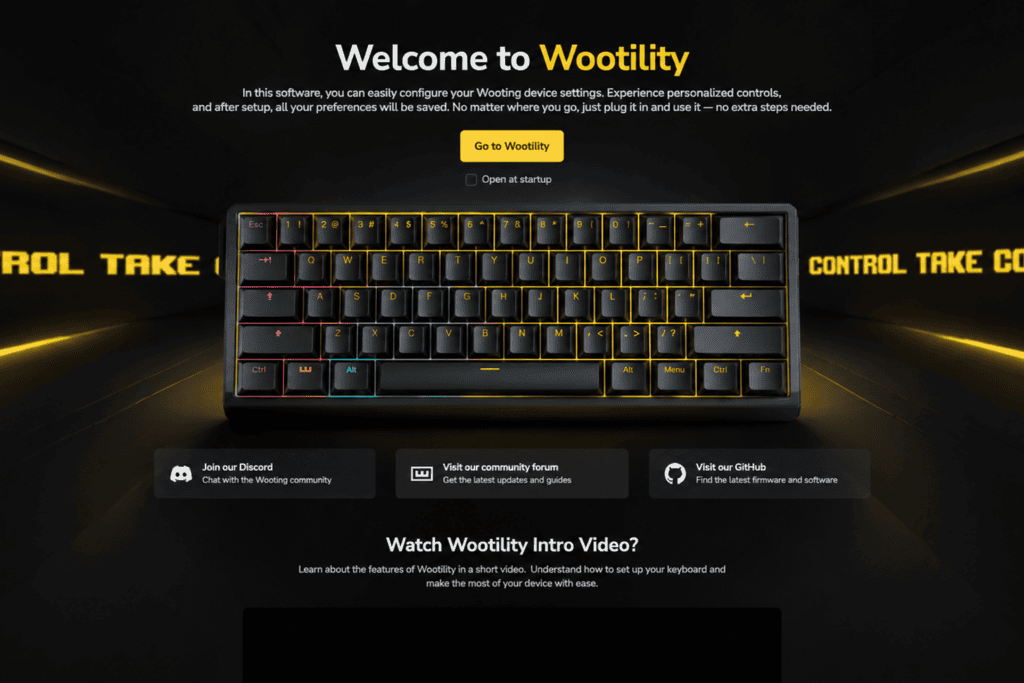
Before touching any slider, it helps to know what Wootility is and what it isn’t.
Web App vs. Desktop App
Wootility comes in two versions:
- Web version: runs in Chrome or Edge through WebHID. Open a tab and you’re configuring. There’s nothing to install, and it works on any computer.
- Desktop version: built on Electron, with the same core features. It can run in the background, which matters for features that need a persistent service.
Our recommendation: use the web version for everyday tuning. Switch to the desktop app only if a feature requires background processes.
An Important Prerequisite
Wootility works only with Wooting’s own Hall effect keyboards, such as the 60HE, 60HE+, 80HE, and Two HE. It is ei a universal remapper. Standard mechanical or membrane boards don’t report analog travel data, so Rapid Trigger and adjustable actuation simply aren’t possible on them.
Rapid Trigger: The Heart of Wooting (and Easiest to Misconfigure)
Rapid Trigger (RT) is the feature that defines Hall effect gaming keyboards. Getting it right matters more than any other setting.
What Rapid Trigger Actually Does
A traditional switch has a fixed reset point. You must let the key rise past that point before it registers as released.
RT removes that rule. The moment the key moves upward, even by a tiny fraction of a millimeter, it resets. Press down again and it fires immediately.
In a shooter like CS2, this means your counter-strafe “stop” signal follows your finger almost in real time instead of waiting for the spring to push the key back to a fixed point.
How to Set RT Sensitivity
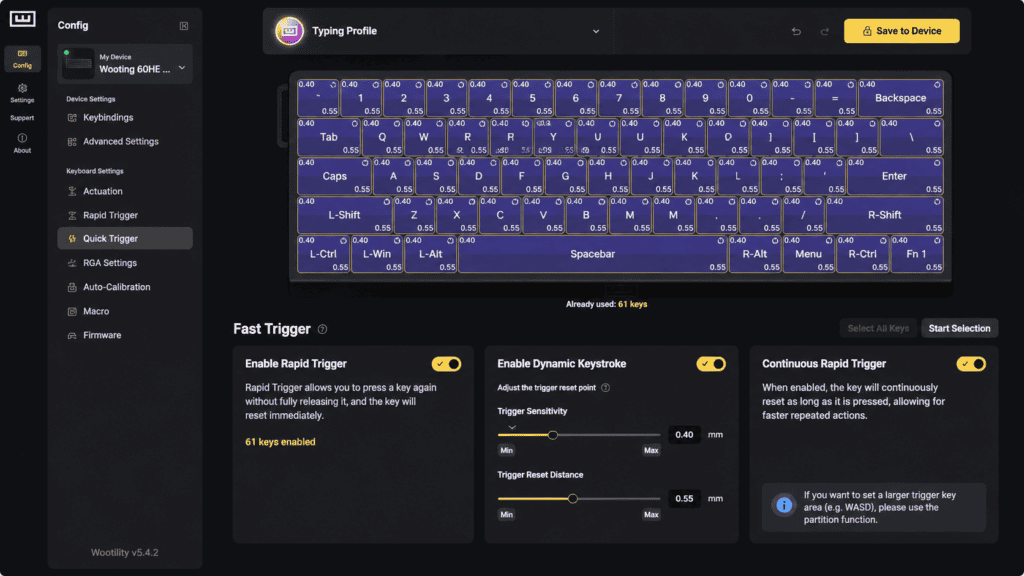
Rapid Trigger Sensitivity defines how far the key must travel upward before it resets.
- Higher sensitivity (smaller distance): faster resets, but slight finger tremors may cause accidental releases.
- Lower sensitivity (larger distance): more stable, but resets feel slightly slower.
Recommended starting range: 0.2mm to 0.5mm for most competitive shooters, depending on how steady your fingers are. Valorant players often land in a similar zone: WASD actuation around 0.2–0.5mm and RT sensitivity around 0.2–0.4mm.
Per-Key RT: Enable It Only Where It Counts
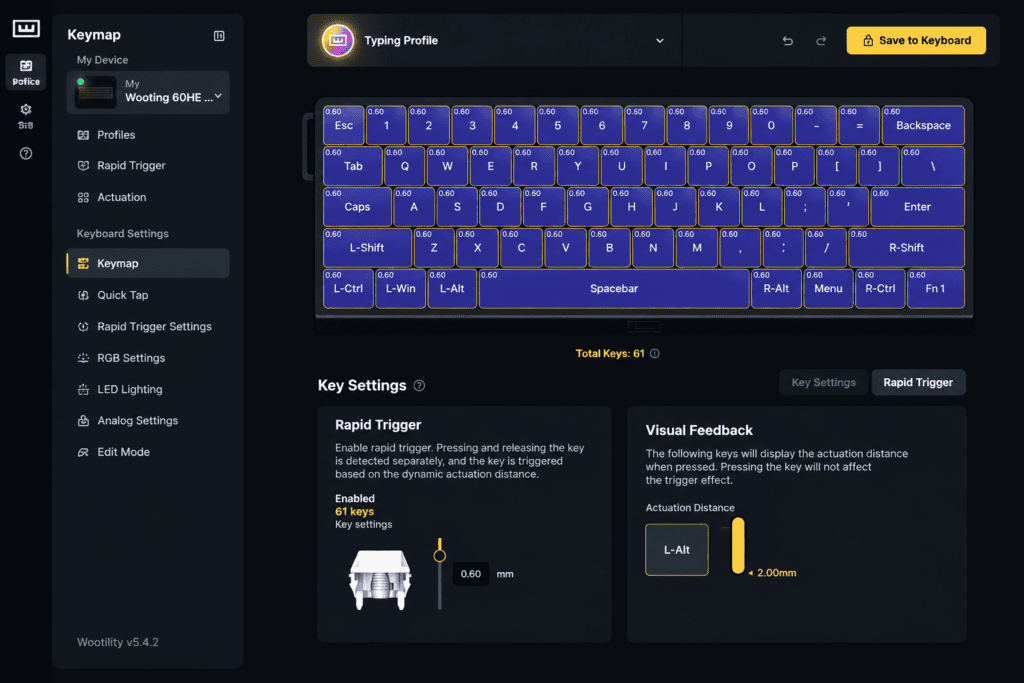
Wootility supports per-key Rapid Trigger. You can enable RT on WASD and leave everything else in traditional mode. That gives you the competitive edge without turning your typing into a minefield.
Kärki: start with WASD only. Expand later if you want.
Deadzone Control: RT’s Hidden Partner
RT decides how a key resets. Deadzones decide where it starts to respond at all.
What Is a Deadzone?
A deadzone is a region of key travel where the key does nothing. In Wootility, you can set the actuation and release points independently, creating a narrow “operating window” for each key.
For example, an A/D key with a 0.1mm actuation and a very small release window needs only a tiny finger movement to change direction.
Recommended Deadzone Settings by Use Case
| Käyttötapaus | Suggested Approach | Miksi |
|---|---|---|
| Racing / fighting games | Deadzone at or near 0 | Maximum responsiveness |
| FPS-pelit | Small deadzone for debouncing | Resting fingers shouldn’t trigger keys |
| Everyday typing | Actuation around 1.5–1.8mm | Prevents accidental keystrokes |
These ranges are starting points. Adjust them to your own finger weight and habits.
The Classic Beginner Mistake
Many new owners set every key to 0.1mm actuation. The result: fingers merely resting on WASD send the character sprinting off a ledge.
Ultra-sensitive settings cause misfires. Finding your own sweet spot beats chasing extreme numbers.
SOCD (Snappy Tappy): Powerful, But Check the Rules
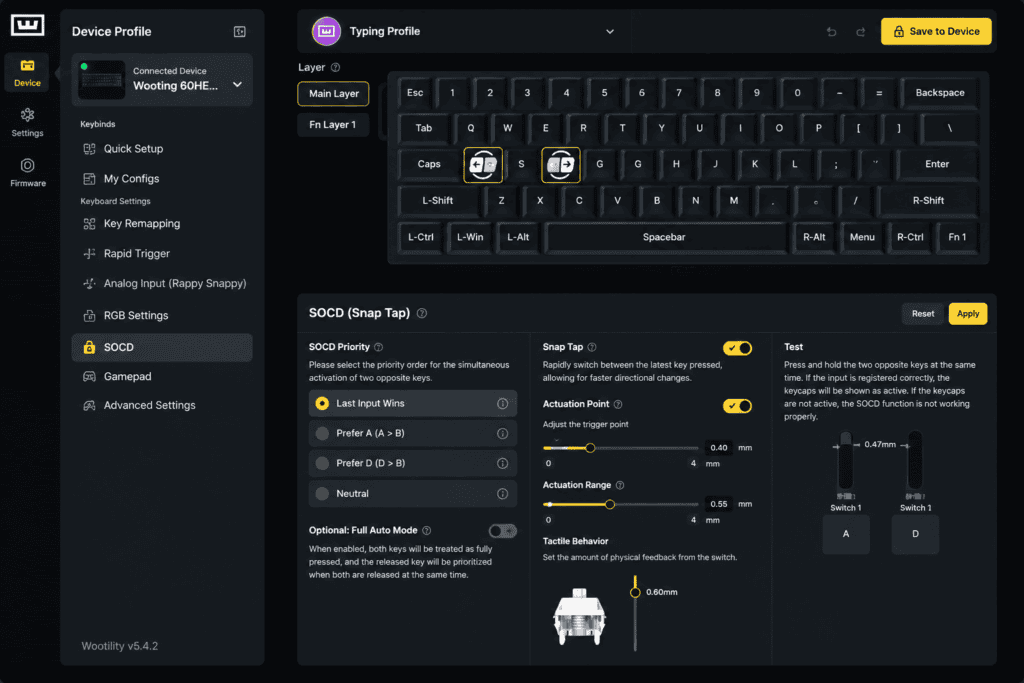
SOCD (Simultaneous Opposite Cardinal Directions) resolution decides what happens when two opposing keys, like A and D, are held at once.
SOCD Resolution Modes
- Last Input Priority: the most recently pressed key wins. This is similar to Snap Tap behavior.
- Absolute Priority: one key (for example, A or D) always wins.
- Neutral: pressing both cancels the input.
For FPS players, Last Input Priority can make counter-strafing cleaner by cutting down on release-then-press steps.
Warning: SOCD Features and CS2 Official Servers
Valve has moved against hardware-assisted SOCD resolution, and using features like Snappy Tappy or Rappy Snappy on CS2 official servers can get you kicked from matches. Wootility displays a warning in its SOCD settings, but it’s easy to overlook.
Our advice:
- If you play official CS2 matchmaking, disable Snappy Tappy and Rappy Snappy.
- If you play games that allow it, such as Valorant, use SOCD according to your preference and each game’s rules.
- Always re-check a game’s current policy before competitive play, since rules change.
DKS (Dynamic Keystroke): Multiple Actions on One Key
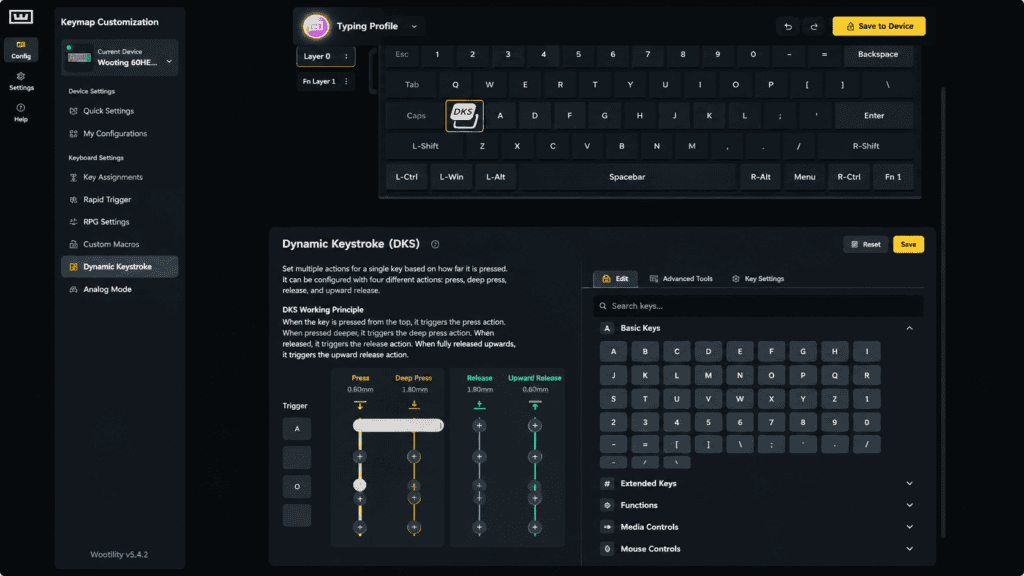
Dynamic Keystroke is the most underused tool in Wootility, and arguably the most creative one.
What DKS Can Do
DKS lets a single key trigger up to four different actions at different points in its travel. Wootility shows this as a grid:
- Column 1: when the key first actuates (e.g., at 1.0mm)
- Column 2: when the key reaches the bottom (e.g., at 3.6mm)
- Column 3: when the key starts rising
- Column 4: when the key returns to the top
Each column can hold its own binding.
A Practical Example: Pseudo-Analog Movement
Not every game supports analog input. With DKS, you can approximate it: a light press triggers “walk,” and pressing all the way down triggers “sprint.” It gives you something close to a gamepad trigger feel in supported setups.
DKS Tips
DKS rewards patience. Don’t apply it to every key at once. Start with a single key, learn what each column does and when, and then expand.
Third-Party Switch Support: An Open Ecosystem
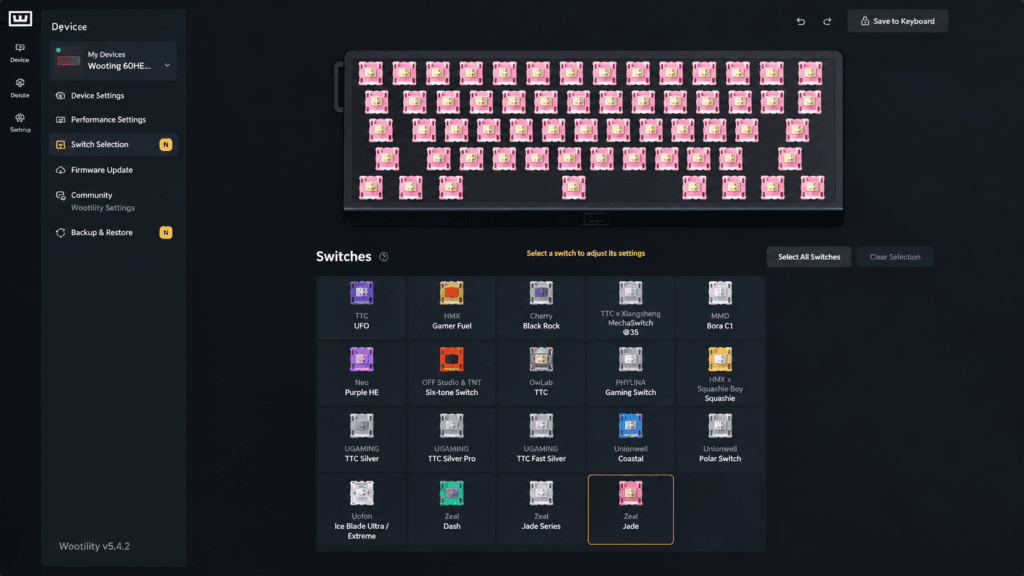
Wootility’s Switch Selector supports more than 28 switch types, including Wooting’s own Lekker family and many third-party magnetic switches.
Recently Added Third-Party Switches (v5.4.0-beta)
- Akko Astrolink HE
- Gateron Jade Max
- HMX Gamer Fuel
- Gateronin vihreä lohikäärme
- Gateron KS-20 Dual-rail Orange
- Neo Lavender HE
- Unionwell BingYao (Ice Shine)
- Wuque Studio Dash
Why Switch Recognition Matters
Magnetic keyboards depend on matching a switch’s magnetic flux characteristics with the firmware’s calibration. If the software doesn’t recognize a swapped switch, RT and actuation accuracy can suffer.
Selecting the right switch profile in Wootility keeps your tuning precise, so you can customize your board without giving up software-level control. If you like building and modding, a pre-built option such as the 60HE V2 custom build is a handy reference point for what a modded setup can look like.
Profiles & App Linking: Set It Once, Use It Everywhere
Good tuning shouldn’t need constant re-tuning. Profiles solve that.
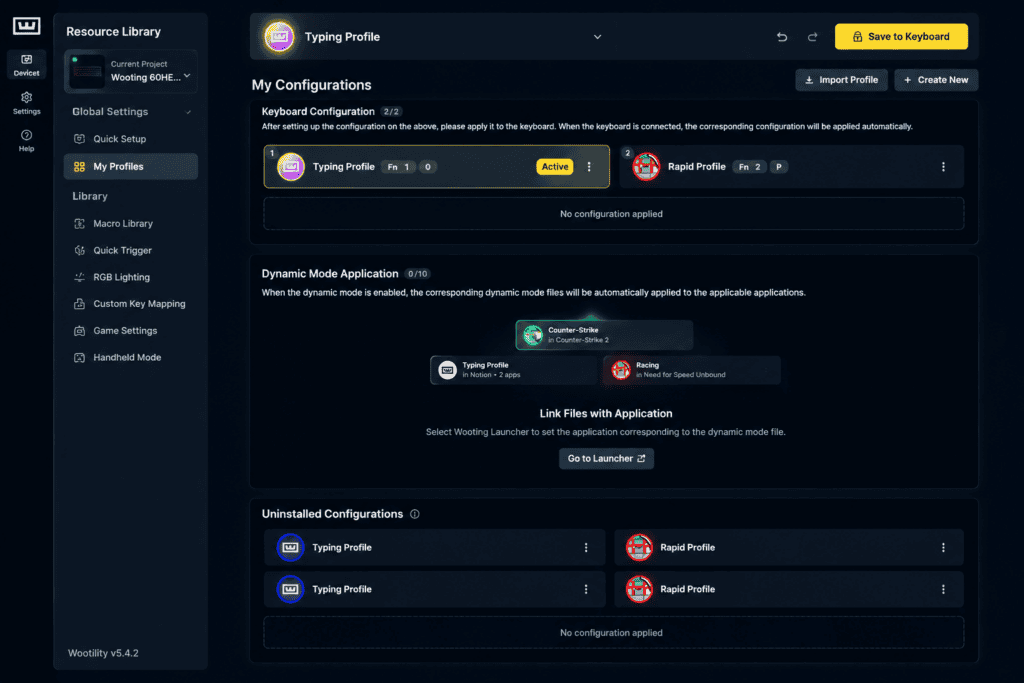
Onboard Profiles
The 60HE V2 stores up to four onboard profiles directly on the keyboard. Once saved, they work even if Wootility isn’t open. A sample setup:
| Profiili | Purpose | Example Settings |
|---|---|---|
| 1 | CS2 | RT on, WASD actuation 0.5mm, SOCD off |
| 2 | Valorantti | RT on, WASD actuation 0.3mm, SOCD on (where permitted) |
| 3 | Kirjoittaminen | RT off, actuation around 1.5mm |
| 4 | Work / macros | Custom layer, DKS shortcuts |
Switching Profiles
By default, Fn + Return cycles through profiles, and Fn plus a designated key can jump directly to a specific one. Check Wootility for the exact shortcuts on your firmware version.
App Linking (v5.4.0+)
Recent Wootility versions support App Linking: the keyboard switches profiles automatically based on the active application, with up to eight linked apps. Link Profile 1 to CS2 and Profile 2 to Valorant, and the right settings load the moment you launch each game.
Final Thoughts: The Learning Curve Is a Moat
Wootility is not plug-and-play, and that’s both its challenge and its advantage.
Why It Feels Hard
- English-only interface: no built-in localization at the moment.
- Dense concepts: RT, deadzones, SOCD, DKS, and Rappy Snappy each need a basic grasp of the logic.
- Interdependent settings: actuation affects RT’s working range, deadzones affect misfires, and SOCD rules vary by game.
Why It’s Worth It
- Extremely fine control: actuation adjustable in 0.1mm steps, with per-key RT.
- Open switch support: you aren’t locked to stock switches.
- Onboard profiles + App Linking: configure once, switch automatically.
- Active development: new switches and features keep arriving.
Spend an hour or two understanding the logic behind each parameter, and the 60HE V2 will feel like a different keyboard. It won’t have changed. You’ll simply know how to use it.
Ready to start tuning? Explore the Wooting 60HE V2 full mod custom keyboard and put these Wootility settings to work on your own build.
 English
 German
 Portuguese
 Spanish
 Italian
 Finnish
 French
 Japanese
 Korean
 Swedish